こんにちは、株式会社Pentagonでアプリ開発をしている山田です。
https://pentagon.tokyo
今日は、Share pluginの使い方についてまとめていきます。
1. Share plugin とは?
これは、Flutter Community Plus Plugins というFlutter 公式のコミュニティーが作成しているプラグインの一つです。
Share pluginの機能としましては、各種プラットフォーム(email, SMS, SNS etc...)を通して、テキストや画像を送る為のプラグインとなっています。

2. インストール方法
こちらは、パッケージの Installing セクションにも書かれていますが、pubspec.yaml ファイルに以下の文言を記載します。その後、pub get をしてパッケージを取得します。
dependencies:
 share: ^2.0.4
3.実装方法
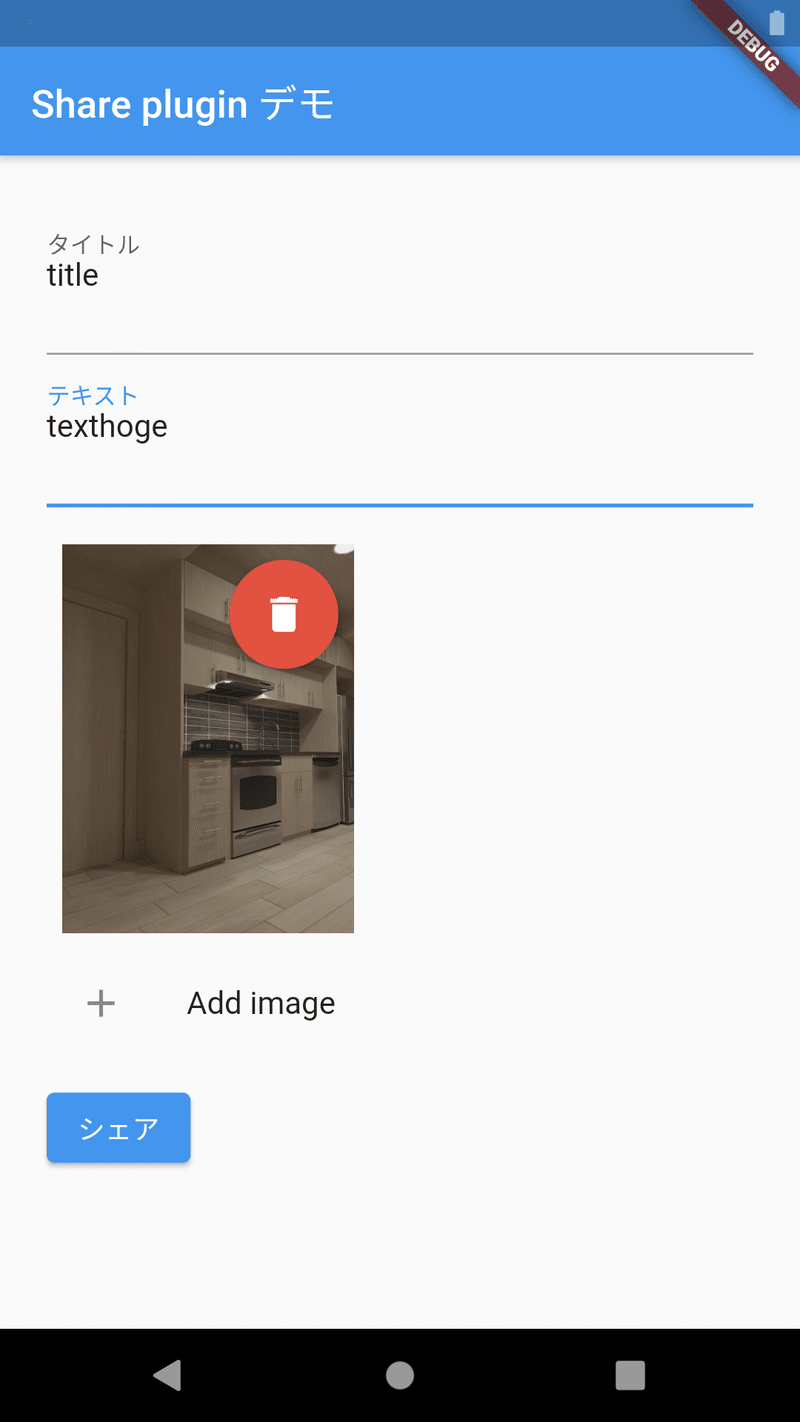
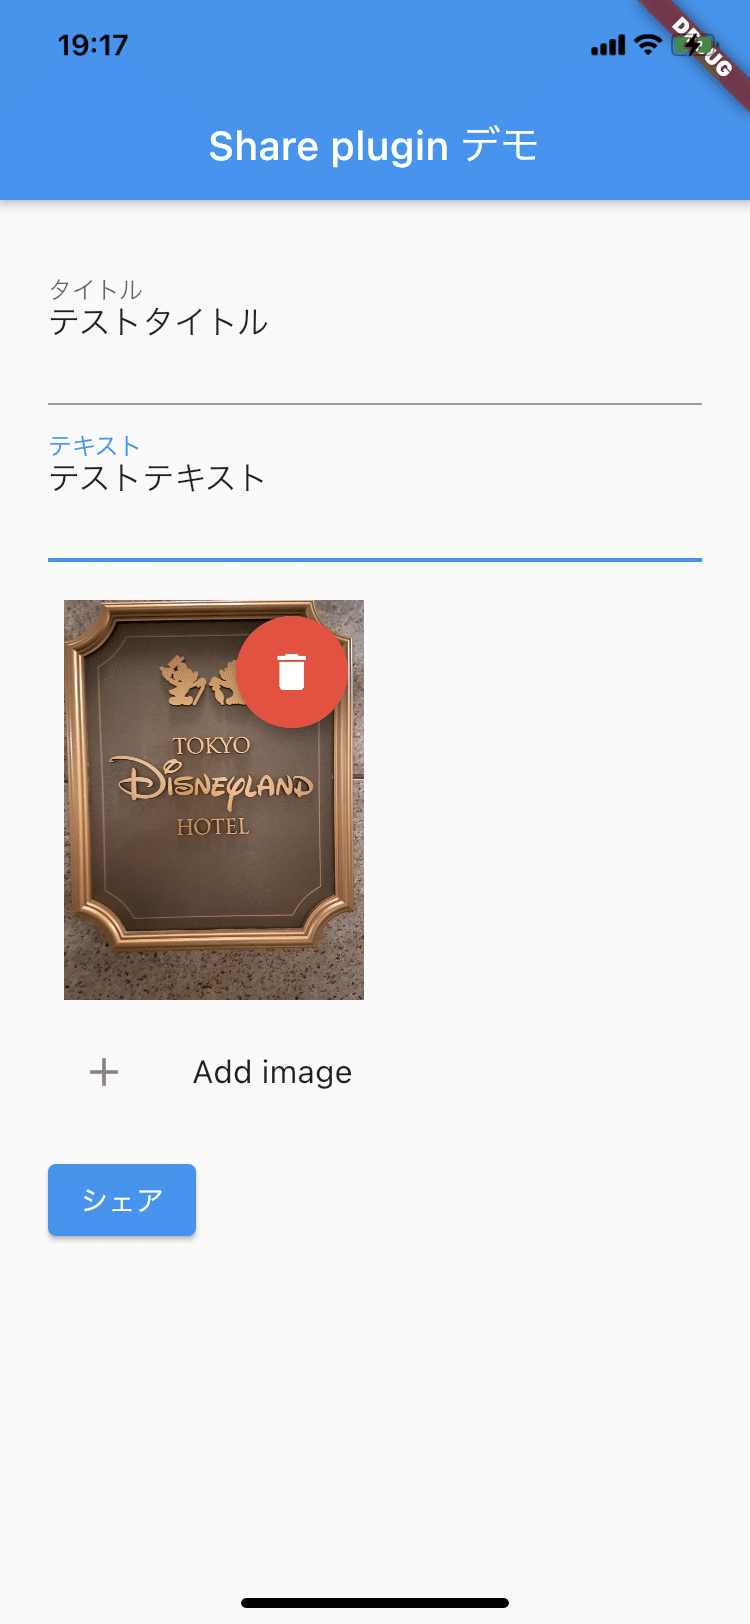
今回実装方法を説明する際に、以下のようなサンプルを作成しました。この画面を元に解説をしていきます。
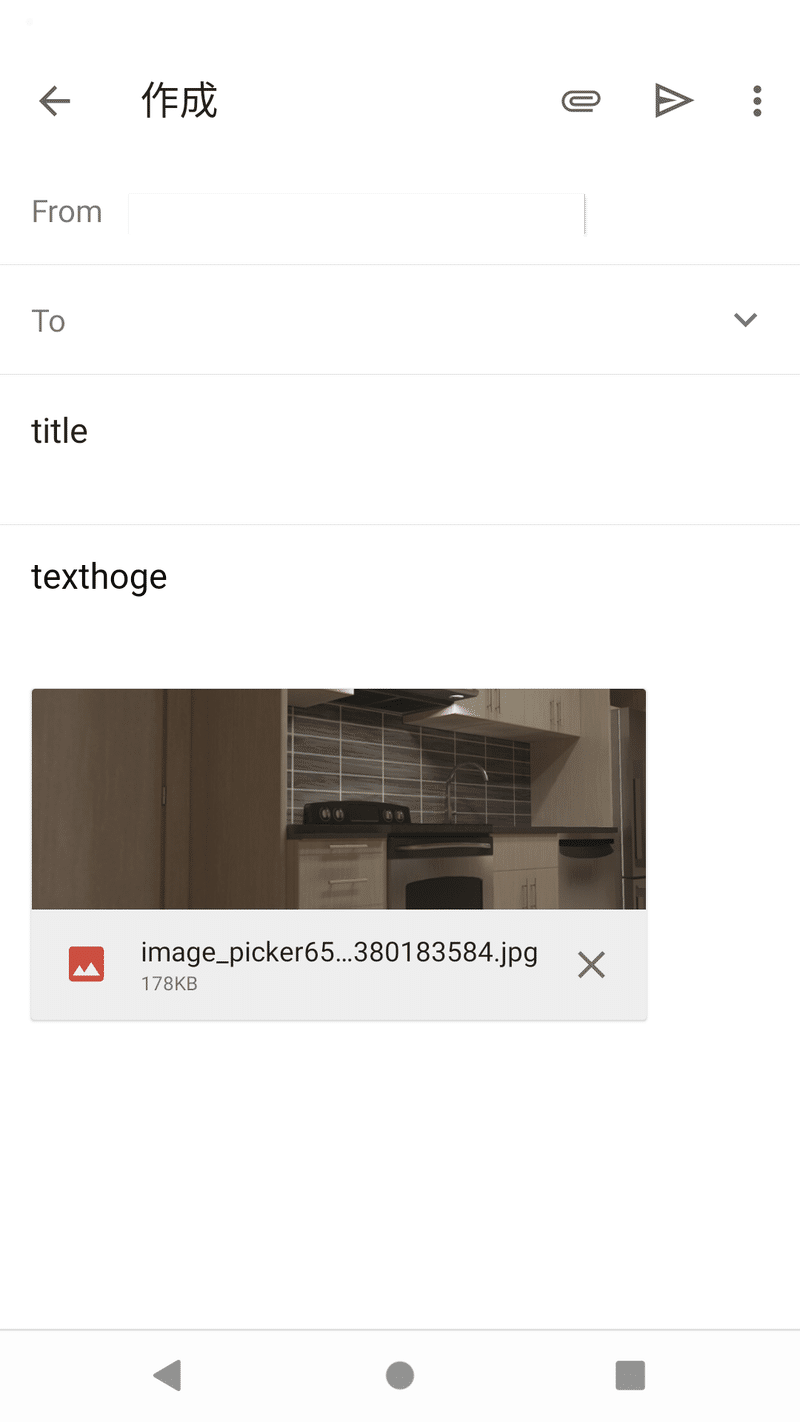
gmail でShareを行うと、以下のようになります。
3.1 Share buttonの実装
こちらがShare button のコードになります。
_onShare(BuildContext context) async {
final RenderBox box = context.findRenderObject() as RenderBox;
if (imagePaths.isNotEmpty) {
await Share.shareFiles(imagePaths,
text: text,
subject: subject,
sharePositionOrigin: box.localToGlobal(Offset.zero) & box.size);
} else {
await Share.share(text,
subject: subject,
sharePositionOrigin: box.localToGlobal(Offset.zero) & box.size);
}
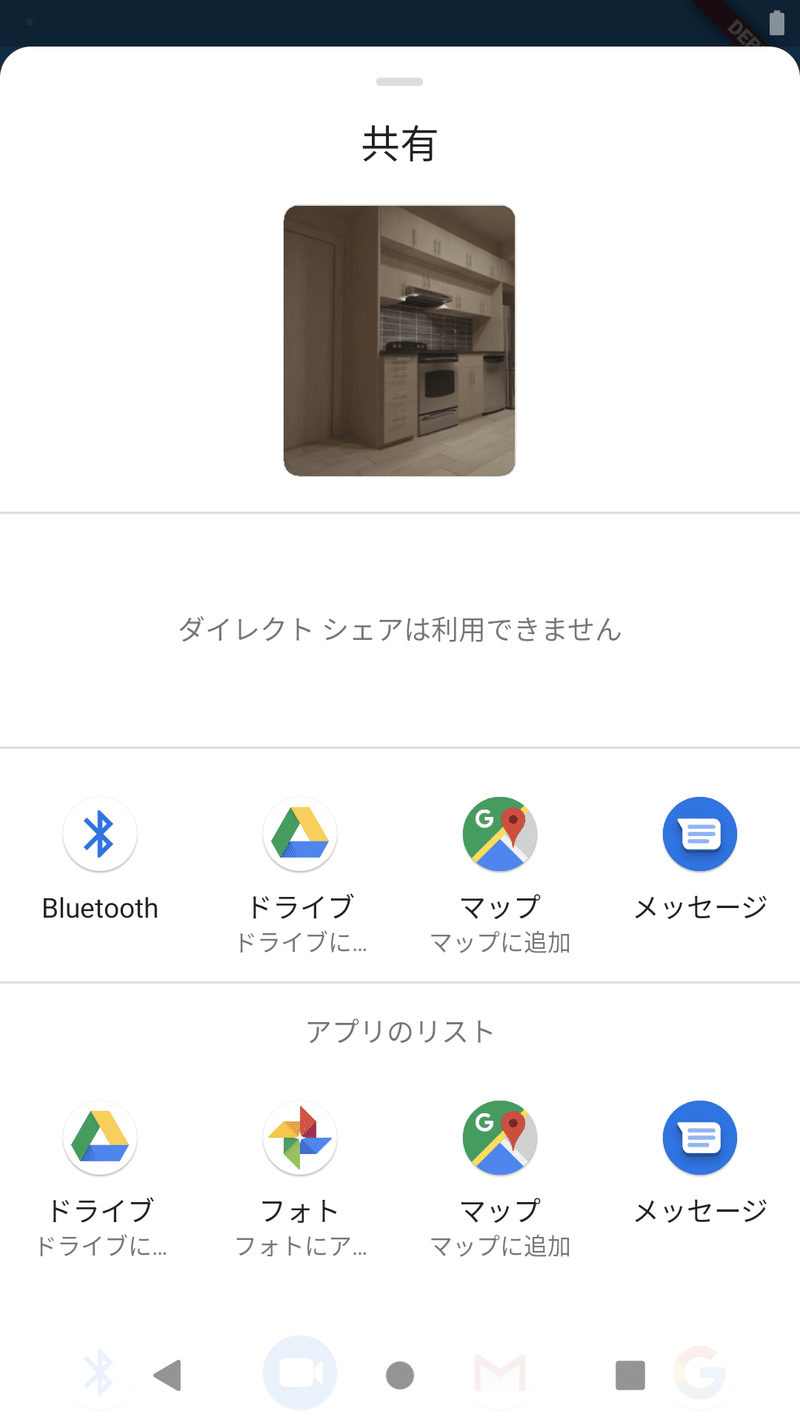
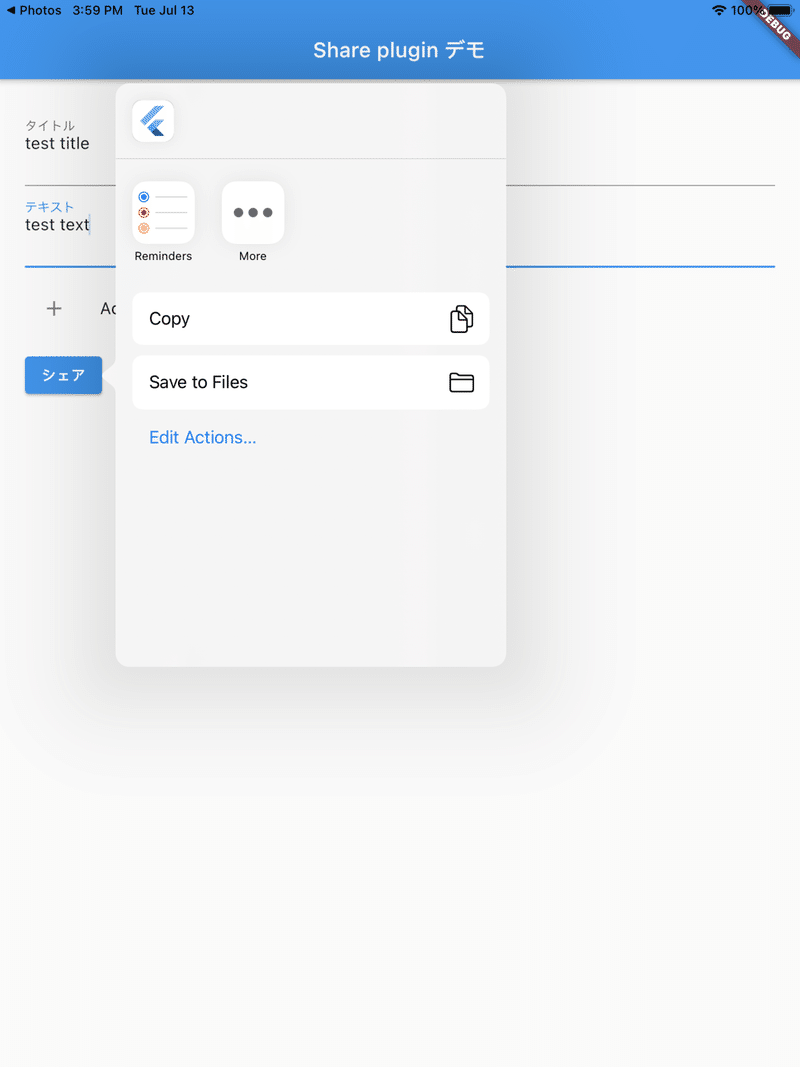
}各Form で入力した値を、_onShare()へ渡しています。そして、shareFiles()を用いて、指定した画像(imagePaths)、テキスト(text)、タイトル(subject)の値を渡します。text: ここにはSNSやメールに対する本文へ値が入ります。subject: ここには、メールだとタイトルに値が入ります。sharePositionOrigin: これは、iPadのみに有効なパラメータです。共通で使用されるshareボタンの一覧シートの位置を指定することができます。例として、このパラメータの有無を画像にしました。
sharePositionOriginで一覧シートの位置を指定した場合
sharePositionOriginで一覧シートの位置を指定しなかった場合以下のようなコードでもう一度動かしてみます。
  _onShare(BuildContext context) async {
   final RenderBox box = context.findRenderObject() as RenderBox;

   if (imagePaths.isNotEmpty) {
     await Share.shareFiles(imagePaths,
         text: text,
         subject: subject);
   } else {
     await Share.share(text,
         subject: subject);
   }
 }
この様に、一覧シートが左上から表示されていることが分かります。
3.2 各種SNSでの実際のShareについて
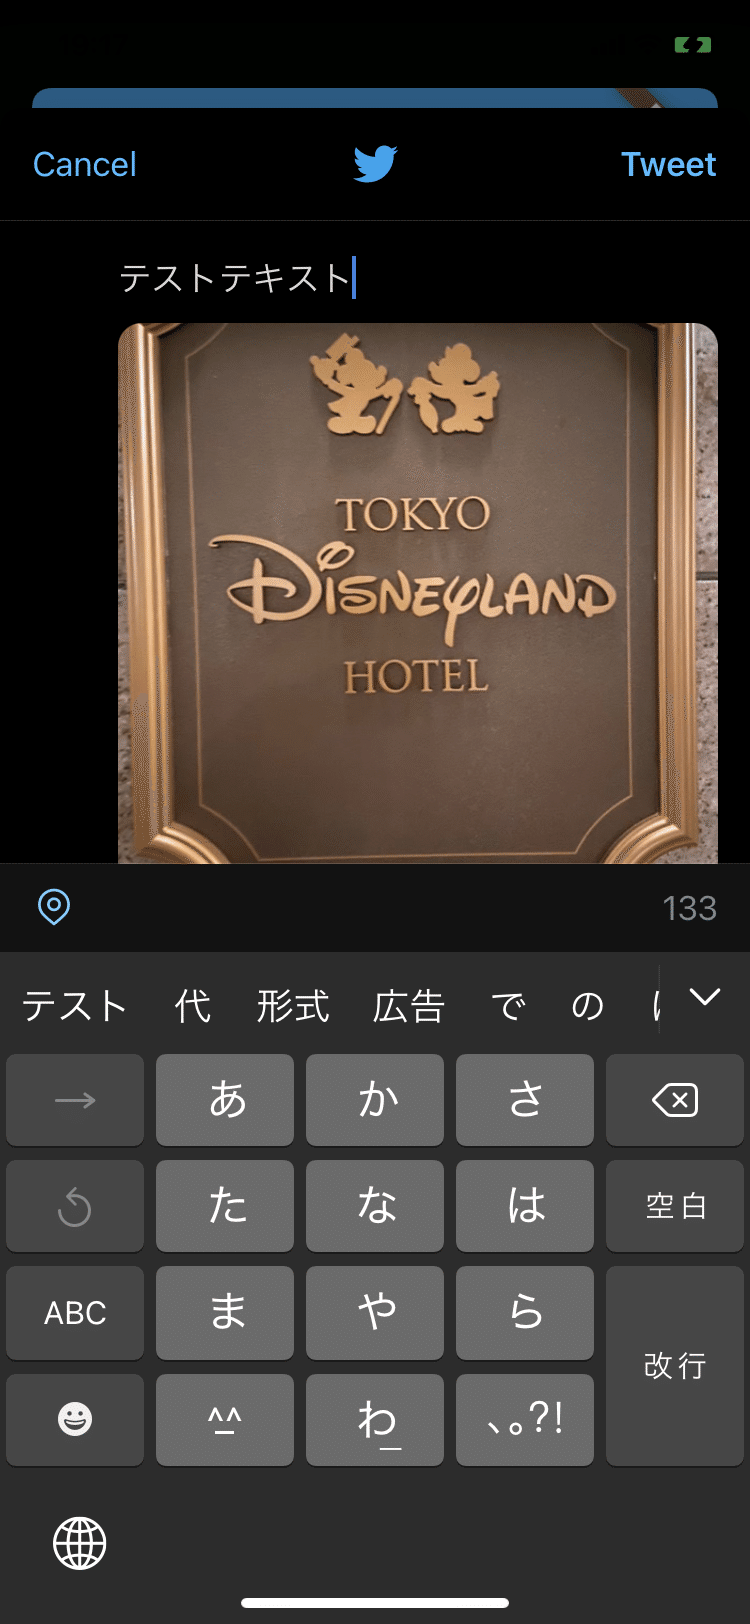
以下の画像の様なデータをShare pluginで各種SNS(Twitter, FaceBook, LINE, Instagram)でシェアを試みた場合を示します。
Twitterの場合
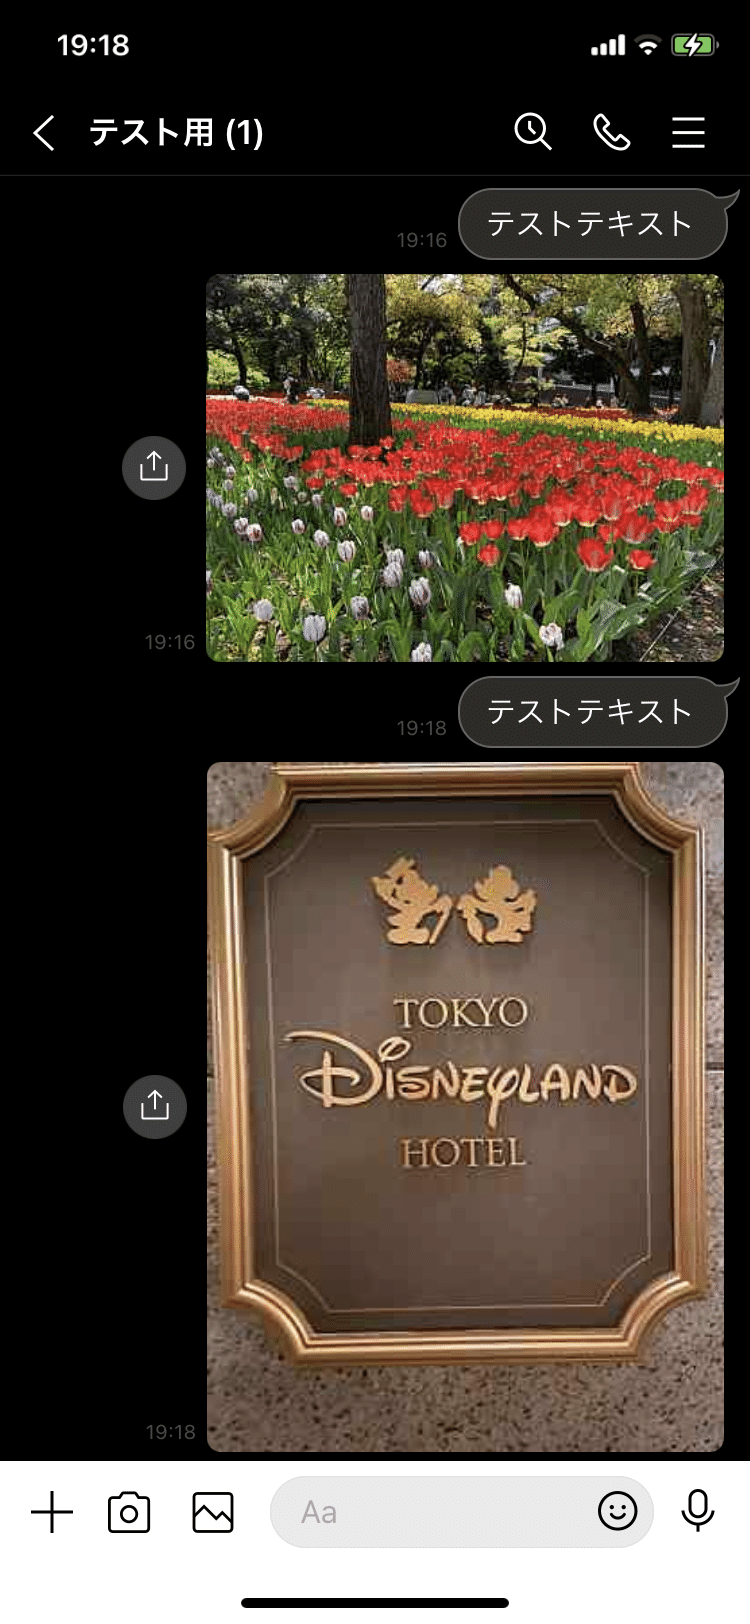
LINEの場合
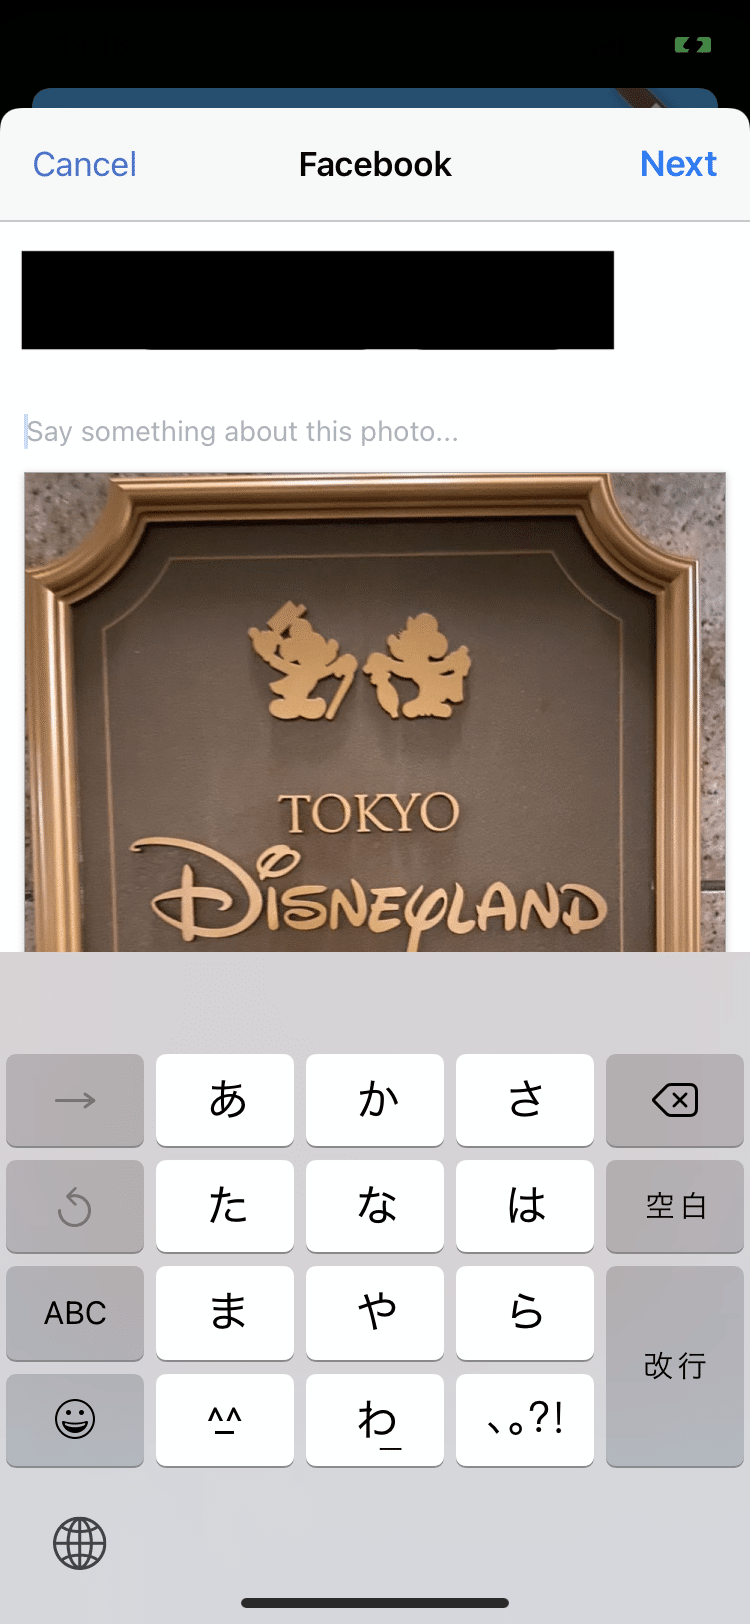
FaceBookの場合
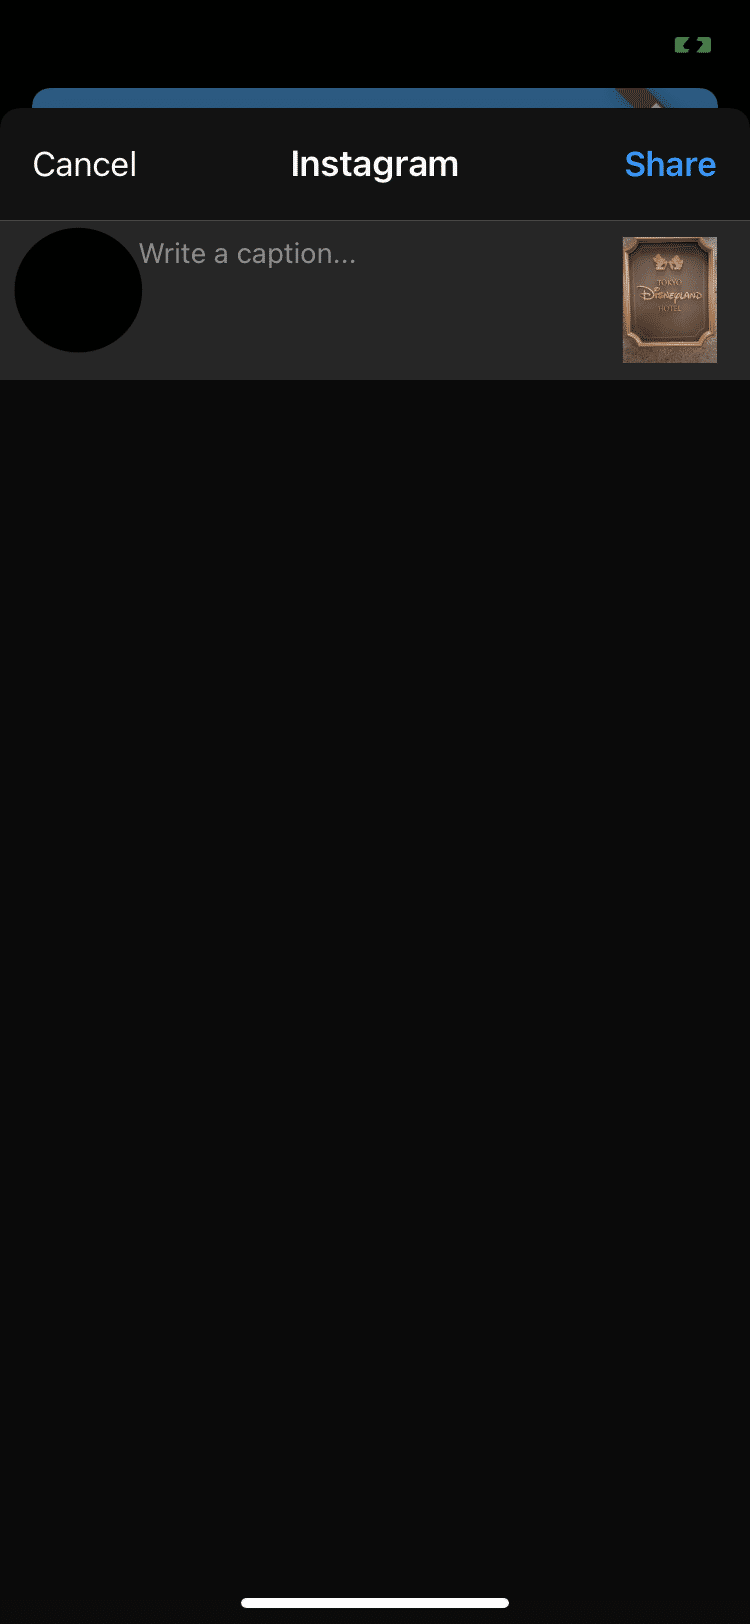
Instagramの場合
3.3 URLから画像を取得する際
以下のリンクからサンプル画像を取得します。
final _url = 'https://picsum.photos/250?image=9';URLから画像を取得するときのコードは次のとおりです。
Future<void> _download() async {
final response = await http.get(Uri.parse(_url));
final imageName = "test.jpg";
final appDir = await pathProvider.getApplicationDocumentsDirectory();
final localPath = path.join(appDir.path, imageName);
final imageFile = File(localPath);
await imageFile.writeAsBytes(response.bodyBytes);
setState(() {
_localPath = localPath;
});
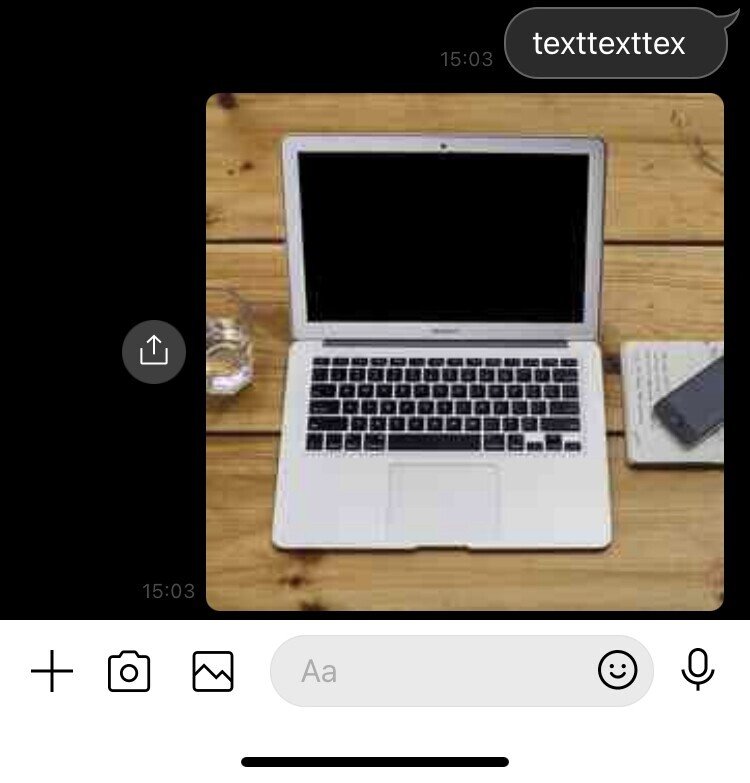
}LINEへ送信すると、次の様に送れることが確認できました。
4. 参考資料
今回用いたソースコードの全容は、下記のリポジトリにありますので、知りたい方はご確認をお願いします。