目次
事前準備
エンジニアから招待リンクを受け取ります。
提供元不明アプリの許可設定
以下のページの「提供元不明のアプリの許可設定をオン、オフする」に、Android 7, 8, 9の設定方法の記載があります。
Androidスマホの提供元不明のアプリとは何か?設定方法や危険性について | スマホサポートライン
Firebase App DistributionでAndroidアプリをダウンロードする方法
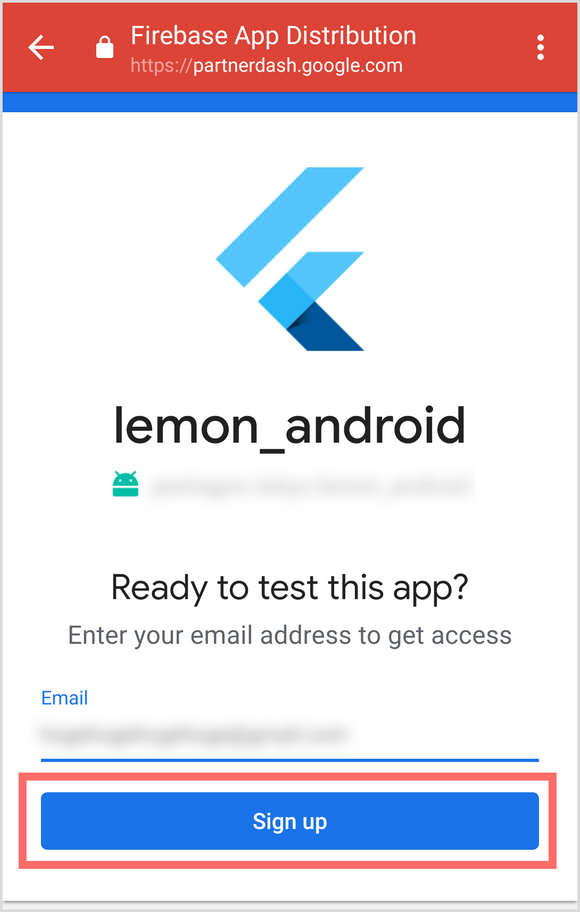
受け取った招待リンクを開きます。
メールアドレスを入力し、[Sign up] をタップします。
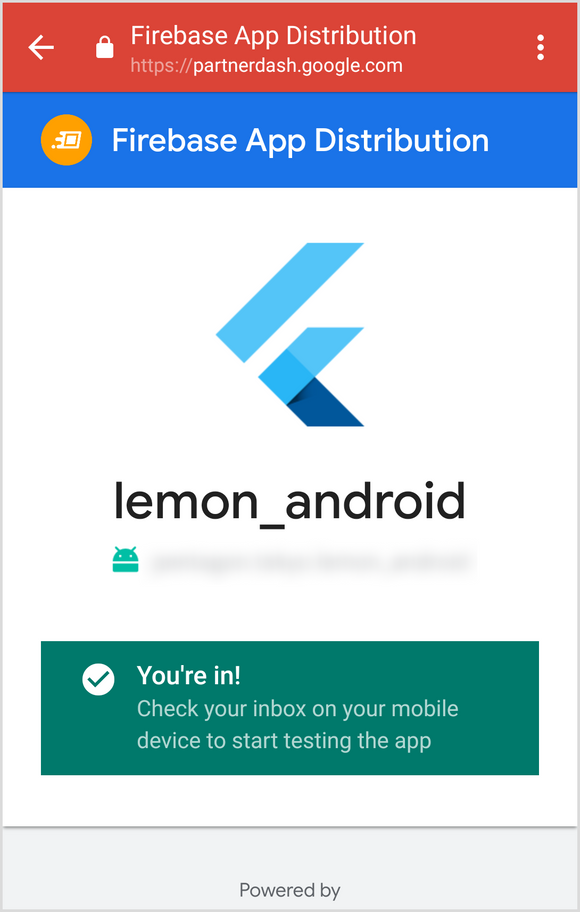
「メールを確認してください」とメッセージが表示されます。

入力したメールアドレス宛に「Confirm your email…」から始まるメールが届いているので、アプリをインストールする端末でこのメールを開きます。
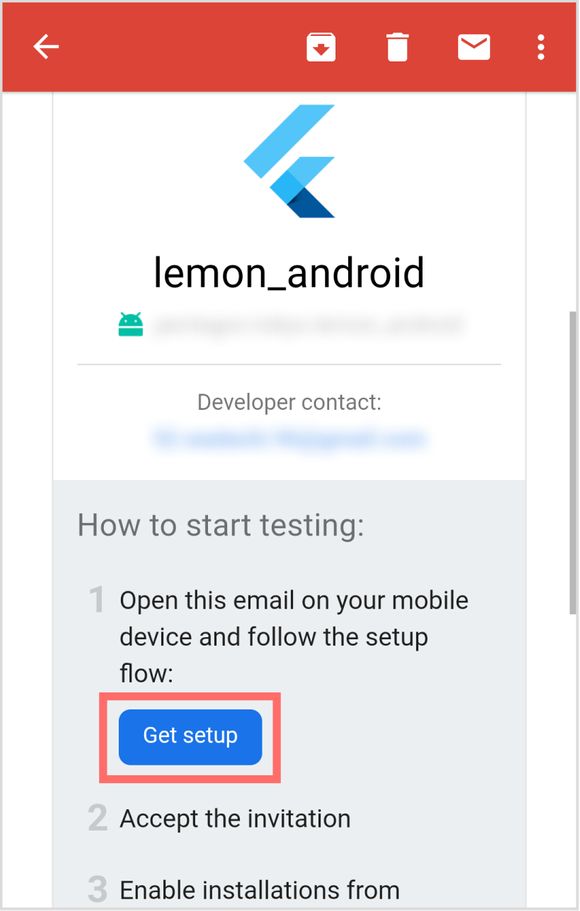
[Get setup] をタップします。
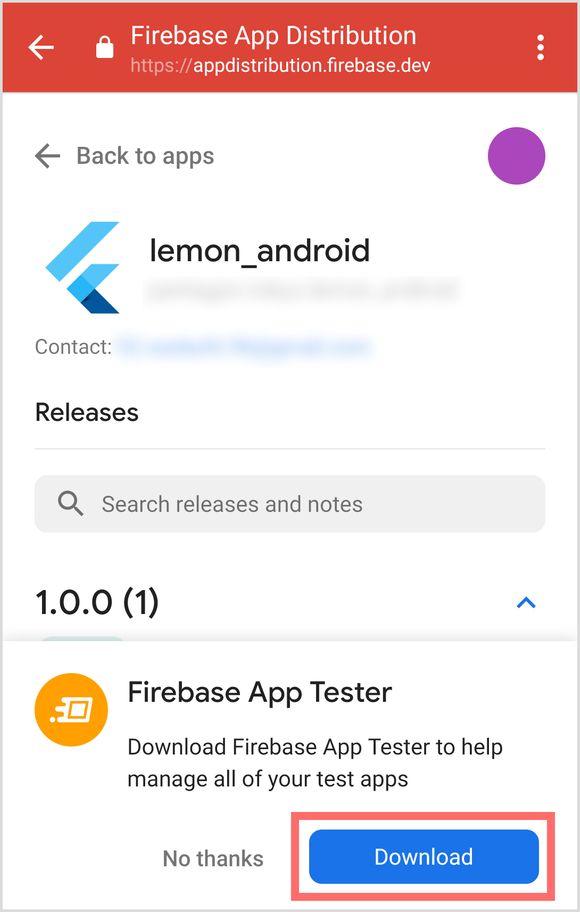
「Firebase App Tester」のダウンロードを促すポップアップが出てきたら、[Download] をタップします。
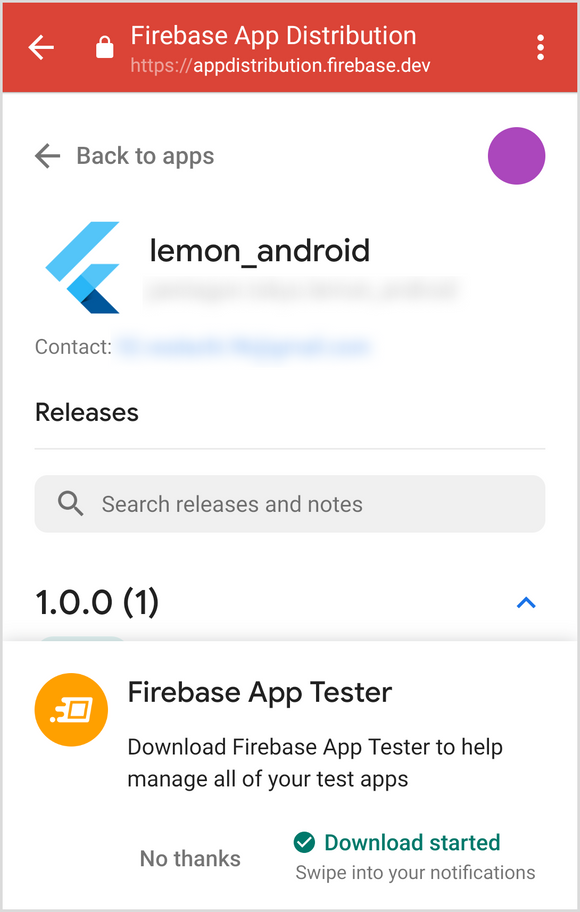
「Download Started」が表示されたら、通知を確認します。

「.apk」で終わるファイルのダウンロード完了後、そのファイルをタップします。
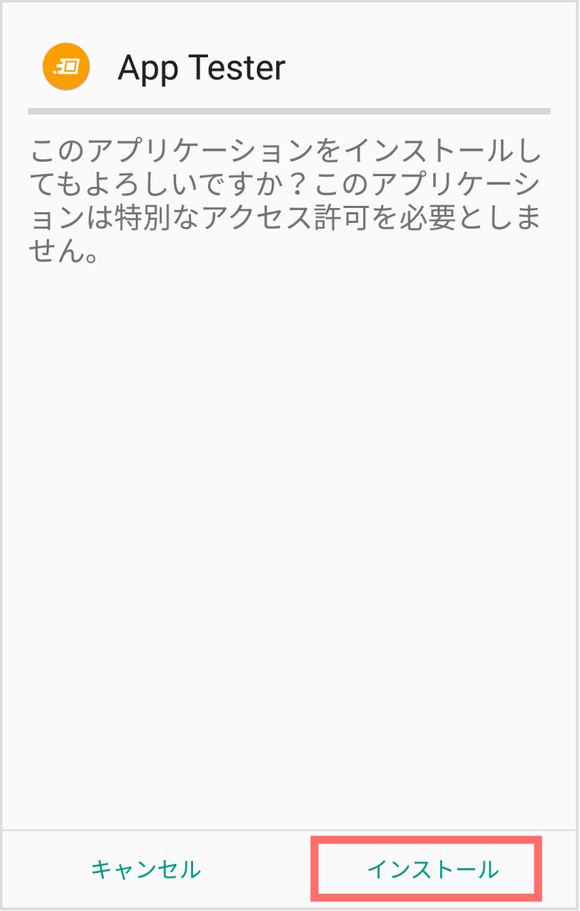
[インストール] をタップします。
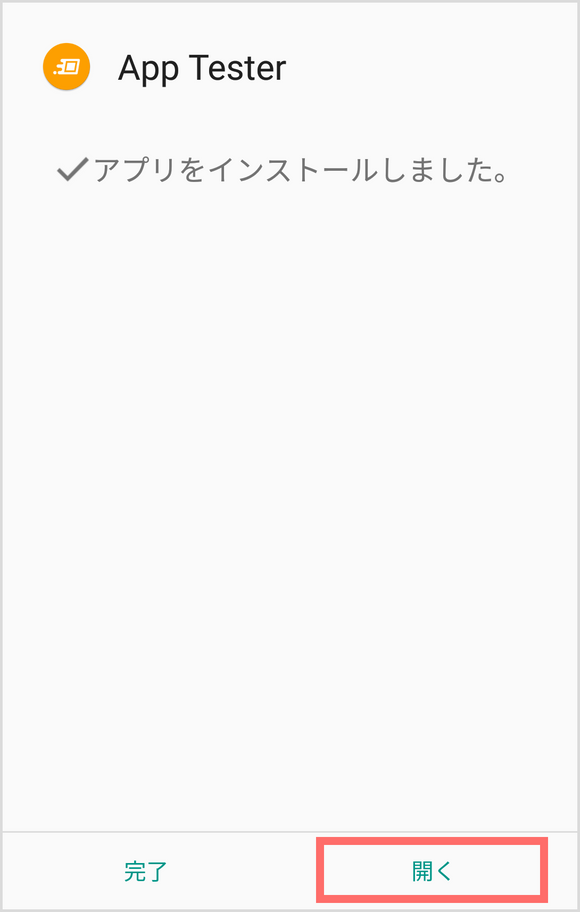
App Testerのダウンロードが完了したら、「開く」をタップします。
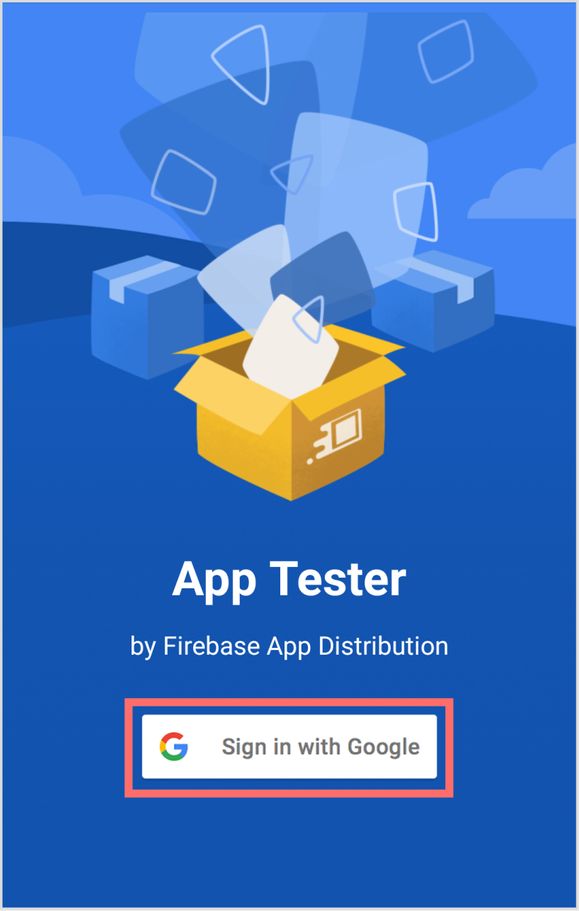
[Sign in with Google] をタップし、招待メールを受け取ったアカウントでログインします。

「Test apps」に表示されている対象のアプリをタップします。
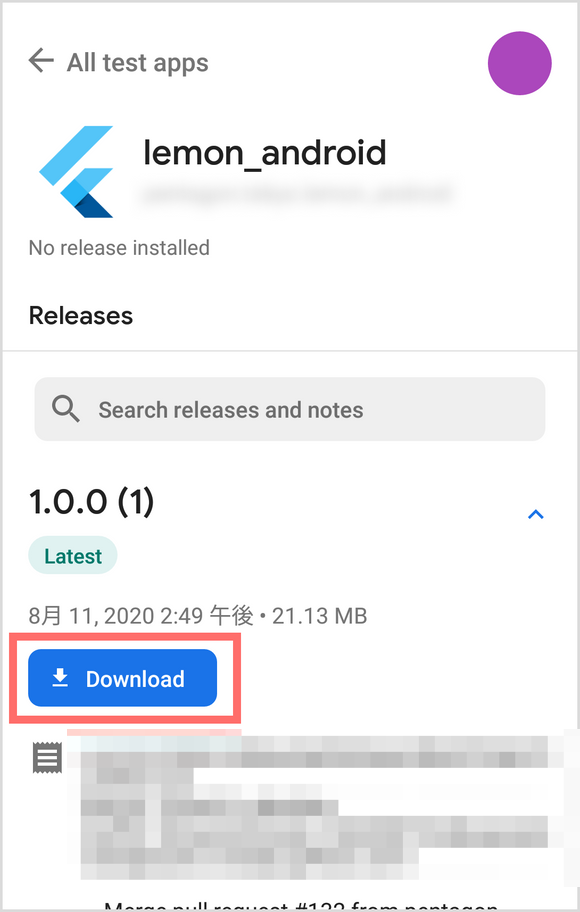
[Download] をタップし、アプリをダウンロードします。
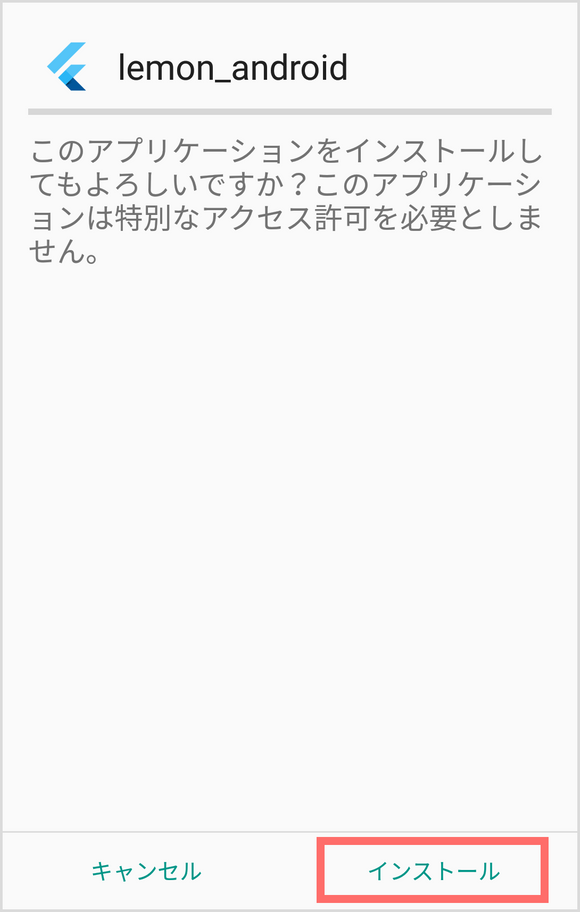
[インストール] をタップします。

[インストールする] をタップします。
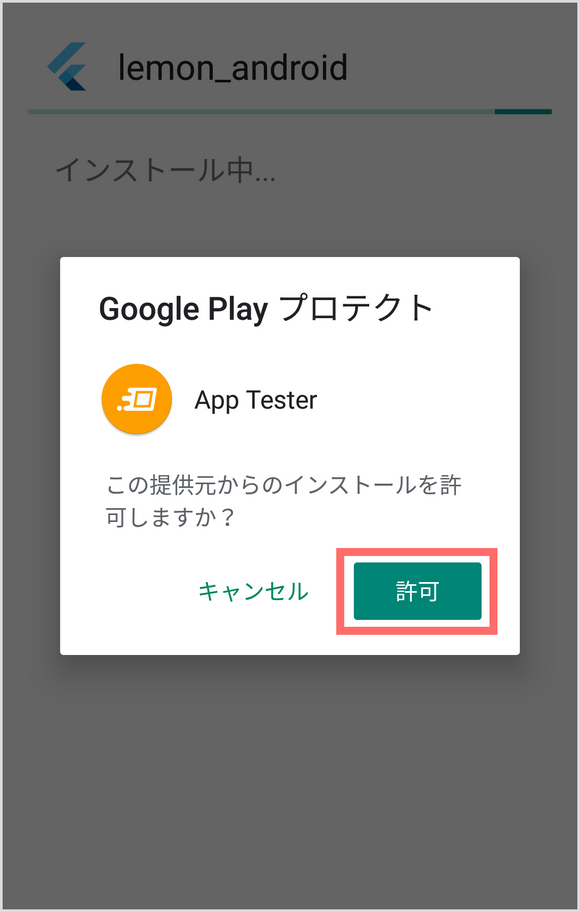
「許可」をタップします。
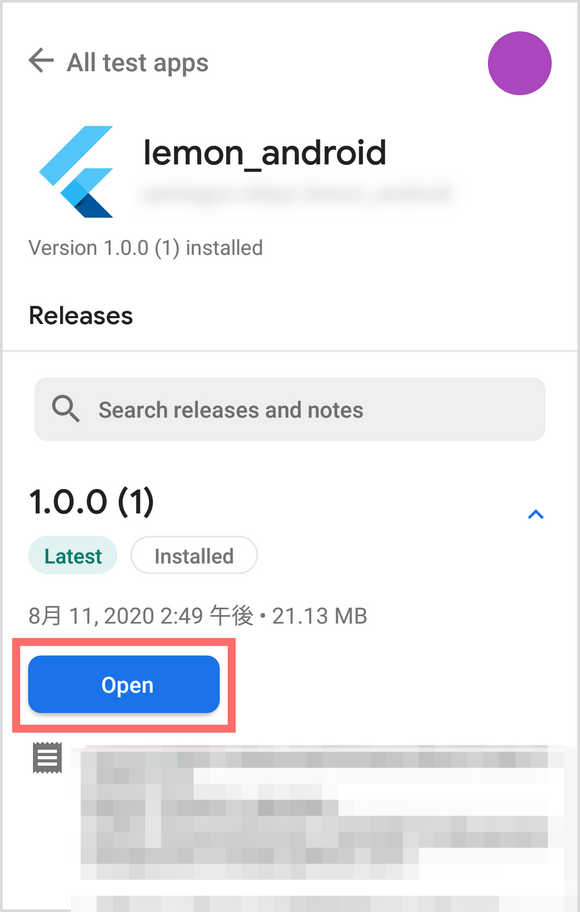
この画面にたどり着いたら、アプリのダウンロードは完了です。[Open] をタップすると、アプリが開きます。
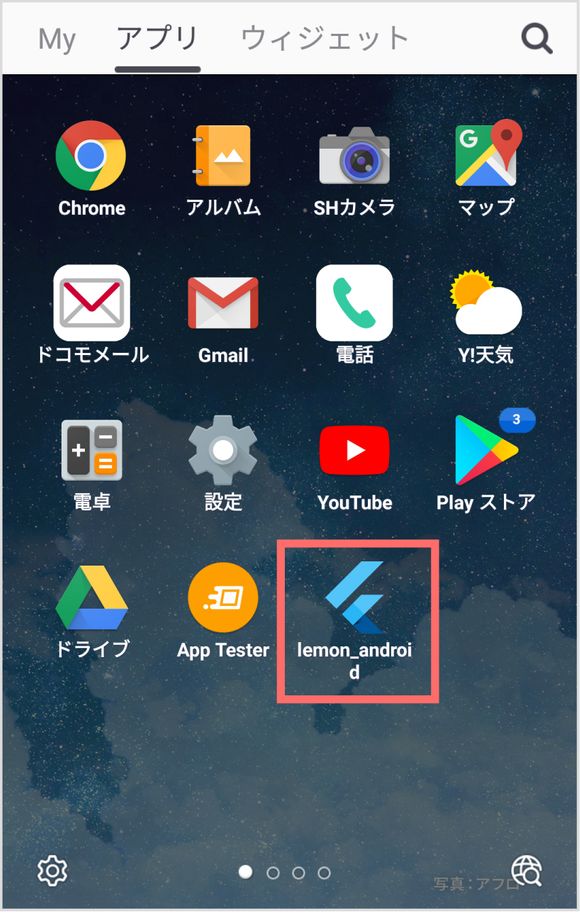
アプリは、GoogleStoreからダウンロードしたアプリと同じように追加されるので、以下の青いアイコンをタップすればいつでも起動させることができます。