こんにちは、株式会社Pentagon代表の山本です。
https://pentagon.tokyo
当社では「アプリを駆使した事業を立ち上げたい」方のために、アプリの設計・デザイン・開発までまるっとサポートしています。
今回は、ユーザー認証周りを巻き取ってくれるauth0について解説します。
目次
この記事を読むとできること


auth0とは?
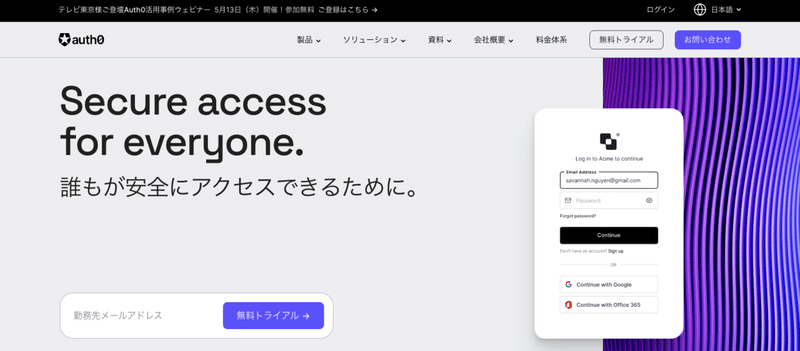
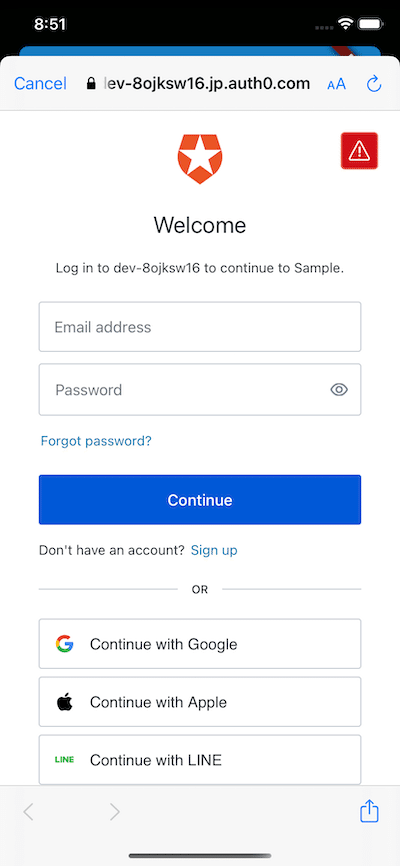
ログイン画面を簡単につくることができるプラットフォームです。
新規登録して管理画面へ
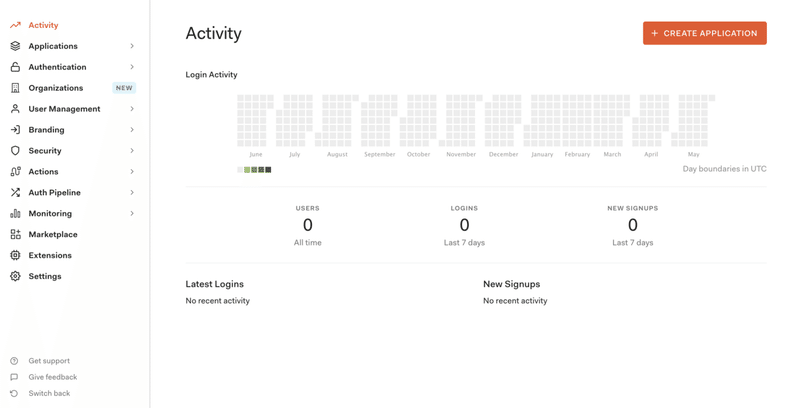
アプリケーションを作成
右上の「CREATE APPLICATION」から新規作成します。
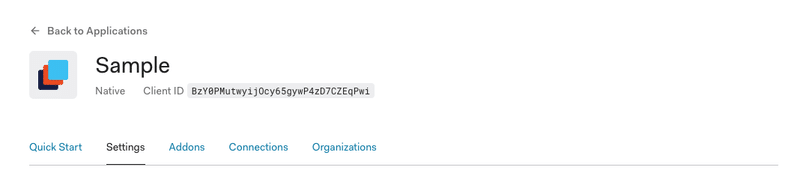
Callback URLを設定
Settingsを表示して、Allowed Callback URLsをセットします。
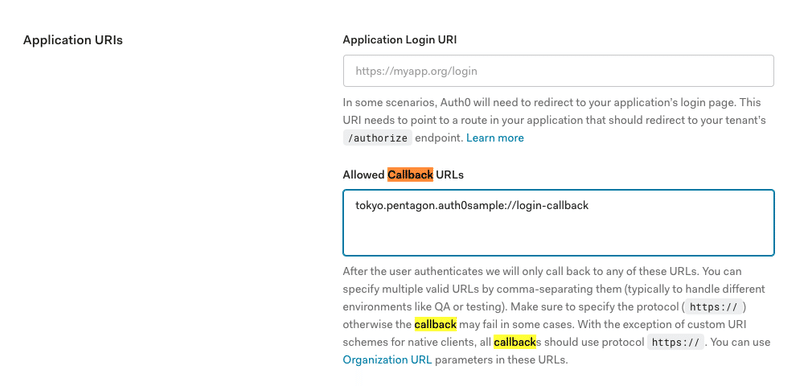
tokyo.pentagon.auth0sample://login-callbackFlutterプロジェクトの作成
flutter create auth0sampleInfo.plistの設定
<key>CFBundleURLTypes</key>
  <array>
     <dict>
        <key>CFBundleTypeRole</key>
        <string>Editor</string>
        <key>CFBundleURLSchemes</key>
        <array>
           <string>tokyo.pentagon.auth0sample</string>
        </array>
     </dict>
  </array>
build.gradleの設定
  defaultConfig {
       applicationId "tokyo.pentagon.auth0sample"
       minSdkVersion 18
       targetSdkVersion 28
       versionCode flutterVersionCode.toInteger()
       versionName flutterVersionName
       manifestPlaceholders = [
               'appAuthRedirectScheme': 'tokyo.pentagon.auth0sample'
       ]
   }
dependenciesを追加
pubspec.yaml
dependencies:
 flutter:
   sdk: flutter
 http: ^0.12.1
 flutter_appauth: ^0.9.1
 flutter_secure_storage: ^3.3.3
main.dart実装
コピペで動きます。Auth0 Variablesは適宜変更してください。
import 'dart:convert';

import 'package:flutter/material.dart';
import 'package:flutter_appauth/flutter_appauth.dart';
import 'package:flutter_secure_storage/flutter_secure_storage.dart';
import 'package:http/http.dart' as http;

/// -----------------------------------
///          External Packages
/// -----------------------------------
final FlutterAppAuth appAuth = FlutterAppAuth();
final FlutterSecureStorage secureStorage = const FlutterSecureStorage();

/// -----------------------------------
///           Auth0 Variables
/// -----------------------------------
const AUTH0_DOMAIN = 'dev-8ojksw16.jp.auth0.com';
const AUTH0_CLIENT_ID = 'BzY0PMutwyijOcy65gywP4zD7CZEqPwi';
const AUTH0_REDIRECT_URI = 'tokyo.pentagon.auth0sample://login-callback';
const AUTH0_ISSUER = 'https://$AUTH0_DOMAIN';

void main() {
 runApp(MyApp());
}

class MyApp extends StatelessWidget {
 // This widget is the root of your application.
 @override
 Widget build(BuildContext context) {
   return MaterialApp(
     title: 'Flutter Demo',
     theme: ThemeData(
       // This is the theme of your application.
       //
       // Try running your application with "flutter run". You'll see the
       // application has a blue toolbar. Then, without quitting the app, try
       // changing the primarySwatch below to Colors.green and then invoke
       // "hot reload" (press "r" in the console where you ran "flutter run",
       // or simply save your changes to "hot reload" in a Flutter IDE).
       // Notice that the counter didn't reset back to zero; the application
       // is not restarted.
       primarySwatch: Colors.blue,
       // This makes the visual density adapt to the platform that you run
       // the app on. For desktop platforms, the controls will be smaller and
       // closer together (more dense) than on mobile platforms.
       visualDensity: VisualDensity.adaptivePlatformDensity,
     ),
     home: MyHomePage(title: 'Flutter Demo Home Page'),
   );
 }
}

class MyHomePage extends StatefulWidget {
 MyHomePage({Key key, this.title}) : super(key: key);

 // This widget is the home page of your application. It is stateful, meaning
 // that it has a State object (defined below) that contains fields that affect
 // how it looks.

 // This class is the configuration for the state. It holds the values (in this
 // case the title) provided by the parent (in this case the App widget) and
 // used by the build method of the State. Fields in a Widget subclass are
 // always marked "final".

 final String title;

 @override
 _MyHomePageState createState() => _MyHomePageState();
}

class _MyHomePageState extends State<MyHomePage> {
 bool isBusy = false;
 bool isLoggedIn = false;
 String errorMessage;
 String name;
 String picture;

 @override
 Widget build(BuildContext context) {
   return MaterialApp(
     title: 'Auth0 Demo',
     home: Scaffold(
       appBar: AppBar(
         title: Text('Auth0 Demo'),
       ),
       body: Center(
         child: isBusy
             ? CircularProgressIndicator()
             : isLoggedIn
                 ? Profile(logoutAction, name, picture)
                 : Login(loginAction, errorMessage),
       ),
     ),
   );
 }

 Map<String, dynamic> parseIdToken(String idToken) {
   final parts = idToken.split(r'.');
   assert(parts.length == 3);

   return jsonDecode(
       utf8.decode(base64Url.decode(base64Url.normalize(parts[1]))));
 }

//
 Future<Map<String, dynamic>> getUserDetails(String accessToken) async {
   final url = 'https://$AUTH0_DOMAIN/userinfo';
   final response = await http.get(
     url,
     headers: {'Authorization': 'Bearer $accessToken'},
   );

   if (response.statusCode == 200) {
     return jsonDecode(response.body);
   } else {
     throw Exception('Failed to get user details');
   }
 }

 Future<void> loginAction() async {
   setState(() {
     isBusy = true;
     errorMessage = '';
   });

   try {
     final AuthorizationTokenResponse result =
         await appAuth.authorizeAndExchangeCode(
       AuthorizationTokenRequest(AUTH0_CLIENT_ID, AUTH0_REDIRECT_URI,
           issuer: 'https://$AUTH0_DOMAIN',
           scopes: [
             'openid',
             'profile',
             'offline_access'
           ],
           promptValues: [
             'login'
           ] // ignore any existing session; force interactive login prompt
           ),
     );

     final idToken = parseIdToken(result.idToken);
     final profile = await getUserDetails(result.accessToken);

     await secureStorage.write(
         key: 'refresh_token', value: result.refreshToken);

     setState(() {
       isBusy = false;
       isLoggedIn = true;
       name = idToken['name'];
       picture = profile['picture'];
     });
   } catch (e, s) {
     print('login error: $e - stack: $s');

     setState(() {
       isBusy = false;
       isLoggedIn = false;
       errorMessage = e.toString();
     });
   }
 }

 void logoutAction() async {
   await secureStorage.delete(key: 'refresh_token');
   setState(() {
     isLoggedIn = false;
     isBusy = false;
   });
 }

 @override
 void initState() {
   initAction();
   super.initState();
 }

 void initAction() async {
   final storedRefreshToken = await secureStorage.read(key: 'refresh_token');
   if (storedRefreshToken == null) return;

   setState(() {
     isBusy = true;
   });

   try {
     final response = await appAuth.token(TokenRequest(
       AUTH0_CLIENT_ID,
       AUTH0_REDIRECT_URI,
       issuer: AUTH0_ISSUER,
       refreshToken: storedRefreshToken,
     ));

     final idToken = parseIdToken(response.idToken);
     final profile = await getUserDetails(response.accessToken);

     secureStorage.write(key: 'refresh_token', value: response.refreshToken);

     setState(() {
       isBusy = false;
       isLoggedIn = true;
       name = idToken['name'];
       picture = profile['picture'];
     });
   } catch (e, s) {
     print('error on refresh token: $e - stack: $s');
     logoutAction();
   }
 }
}

/// -----------------------------------
///           Profile Widget
/// -----------------------------------

class Profile extends StatelessWidget {
 final logoutAction;
 final String name;
 final String picture;

 Profile(this.logoutAction, this.name, this.picture);

 @override
 Widget build(BuildContext context) {
   return Column(
     mainAxisAlignment: MainAxisAlignment.center,
     children: <Widget>[
       Container(
         width: 150,
         height: 150,
         decoration: BoxDecoration(
           border: Border.all(color: Colors.blue, width: 4.0),
           shape: BoxShape.circle,
           image: DecorationImage(
             fit: BoxFit.fill,
             image: NetworkImage(picture ?? ''),
           ),
         ),
       ),
       SizedBox(height: 24.0),
       Text('Name: $name'),
       SizedBox(height: 48.0),
       RaisedButton(
         onPressed: () {
           logoutAction();
         },
         child: Text('Logout'),
       ),
     ],
   );
 }
}

/// -----------------------------------
///            Login Widget
/// -----------------------------------

class Login extends StatelessWidget {
 final loginAction;
 final String loginError;

 const Login(this.loginAction, this.loginError);

 @override
 Widget build(BuildContext context) {
   return Column(
     mainAxisAlignment: MainAxisAlignment.center,
     children: <Widget>[
       RaisedButton(
         onPressed: () {
           loginAction();
         },
         child: Text('Login'),
       ),
       Text(loginError ?? ''),
     ],
   );
 }
}
SNSログインの追加方法は?
管理画面のAuthentication > Socialからサードパーティの認証を追加することができます。
特にLINEでのログインができるのは嬉しいポイントです。
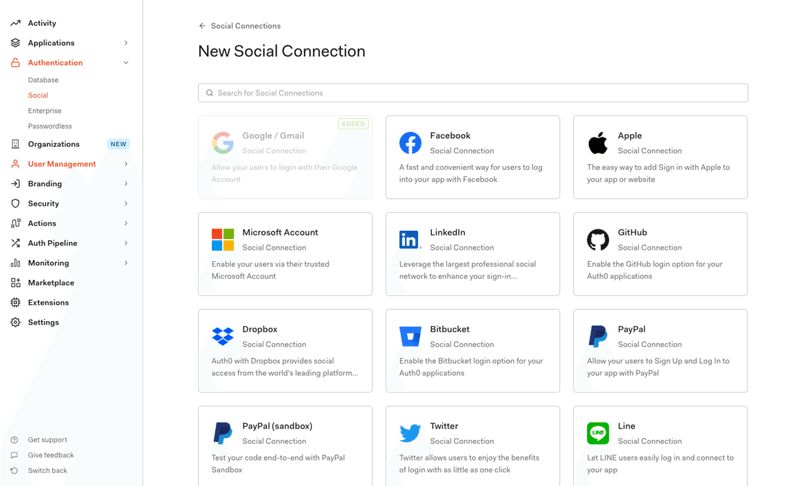
設定をすると、以下のようにサードパーティの認証を追加することができます。
参考にした記事:Get Started with Flutter Authentication